Playing with Blinn-Phong
Table of Contents
Starting point⌗
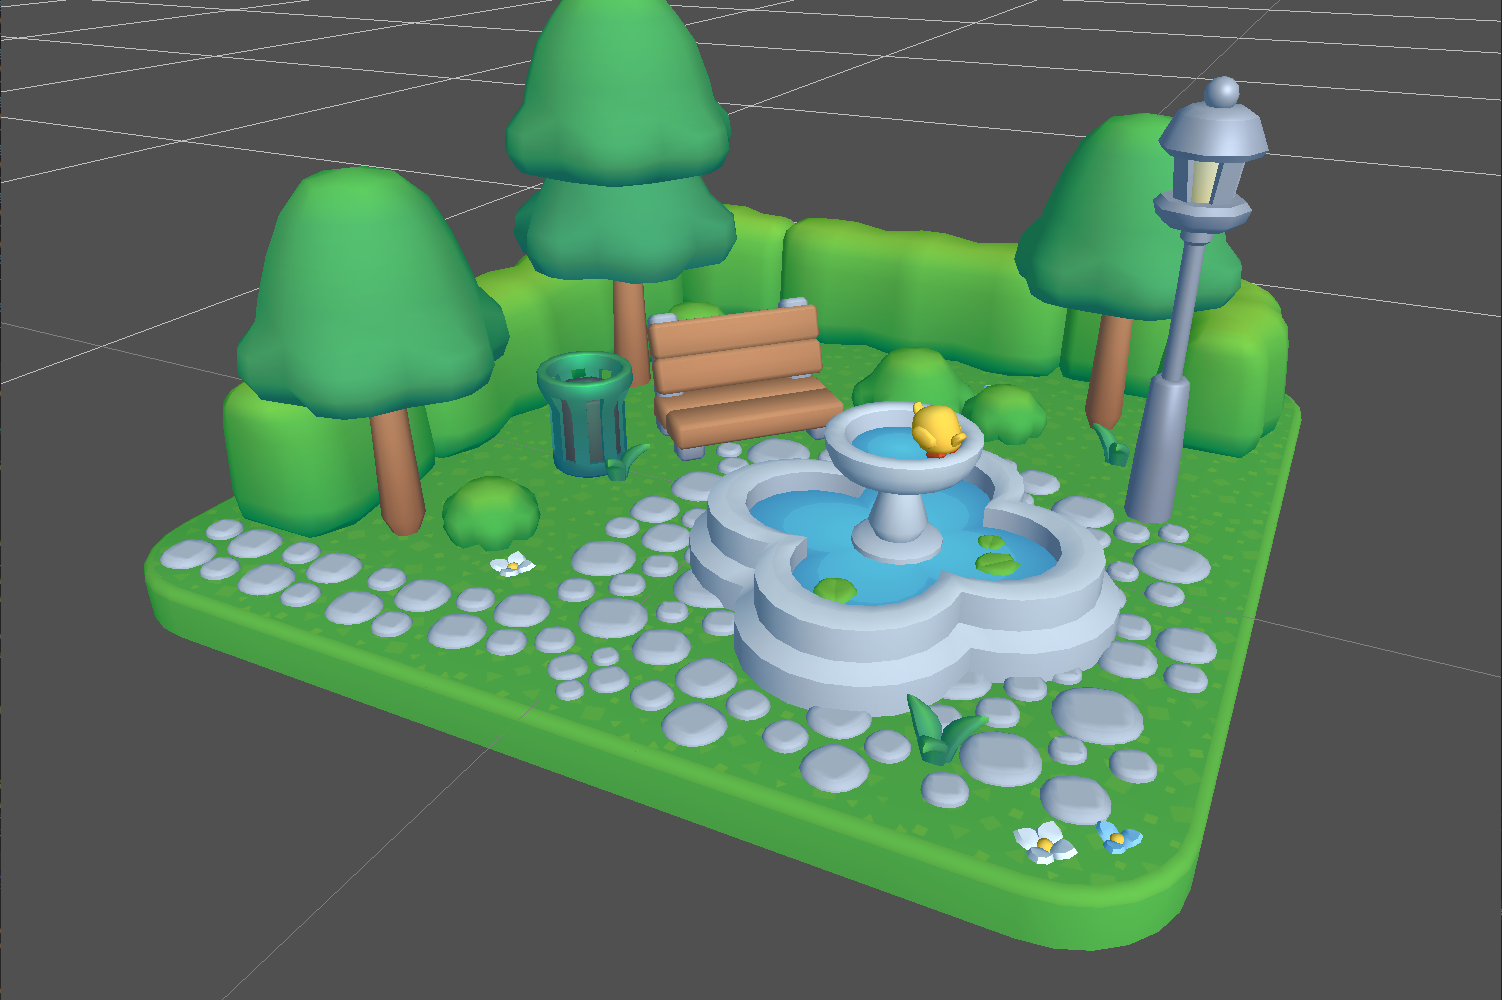
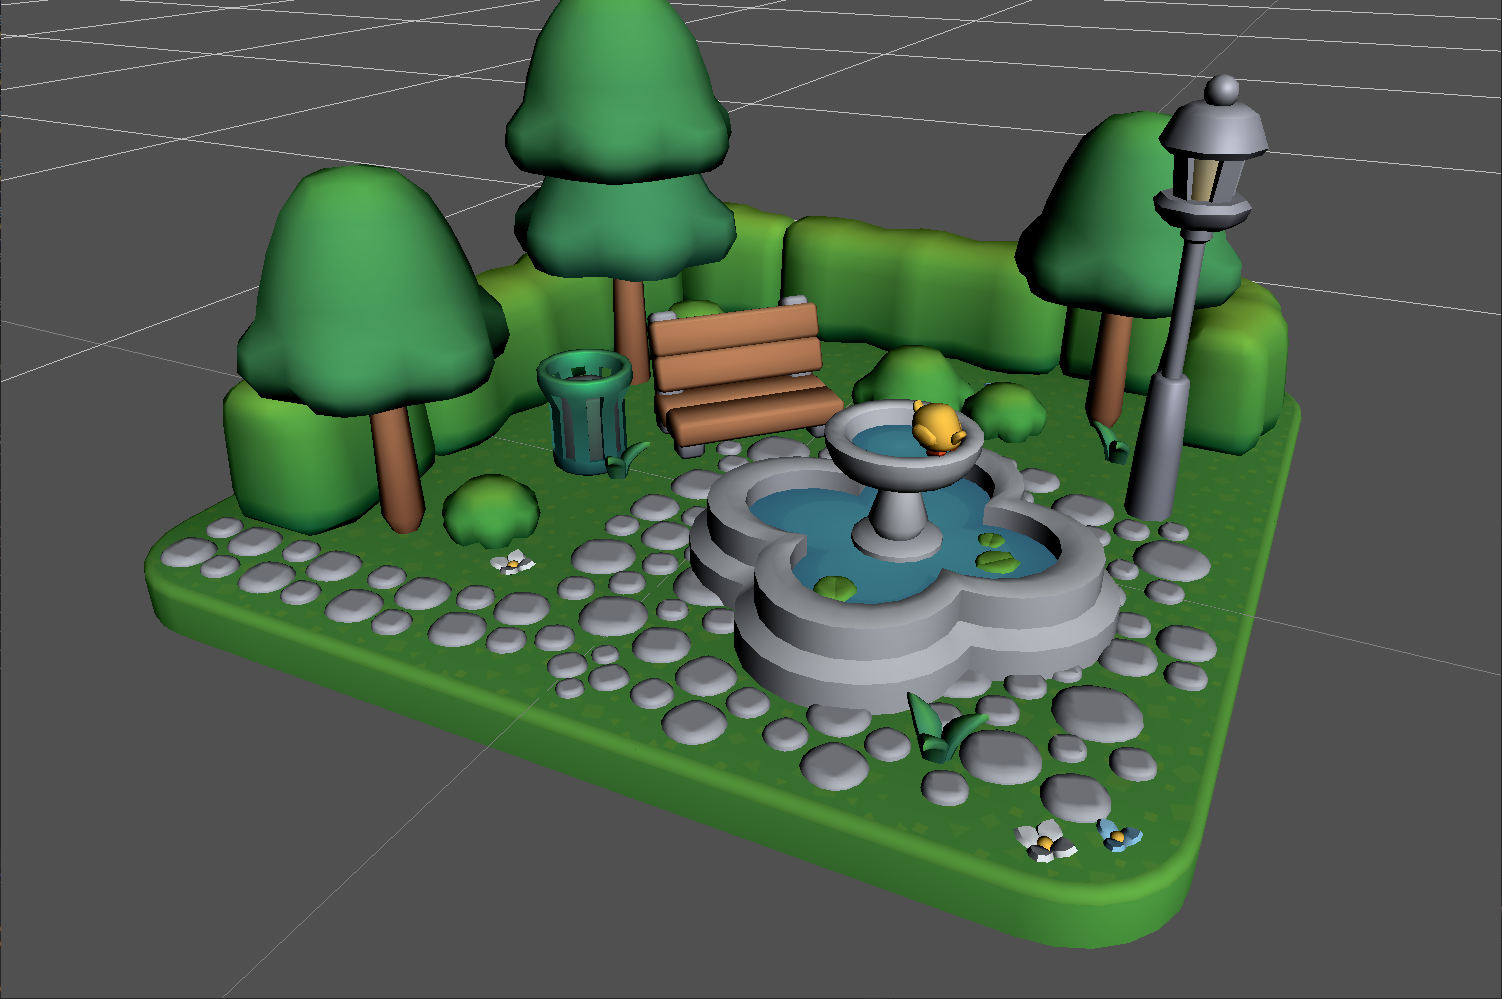
In my previous post I showed you a Blinn-Phong model:

Something was missing. I was tarnishing these beautiful models with my ugly basic shading.
Which meant: time to have FUN 🧪✨!
Ambient Light⌗
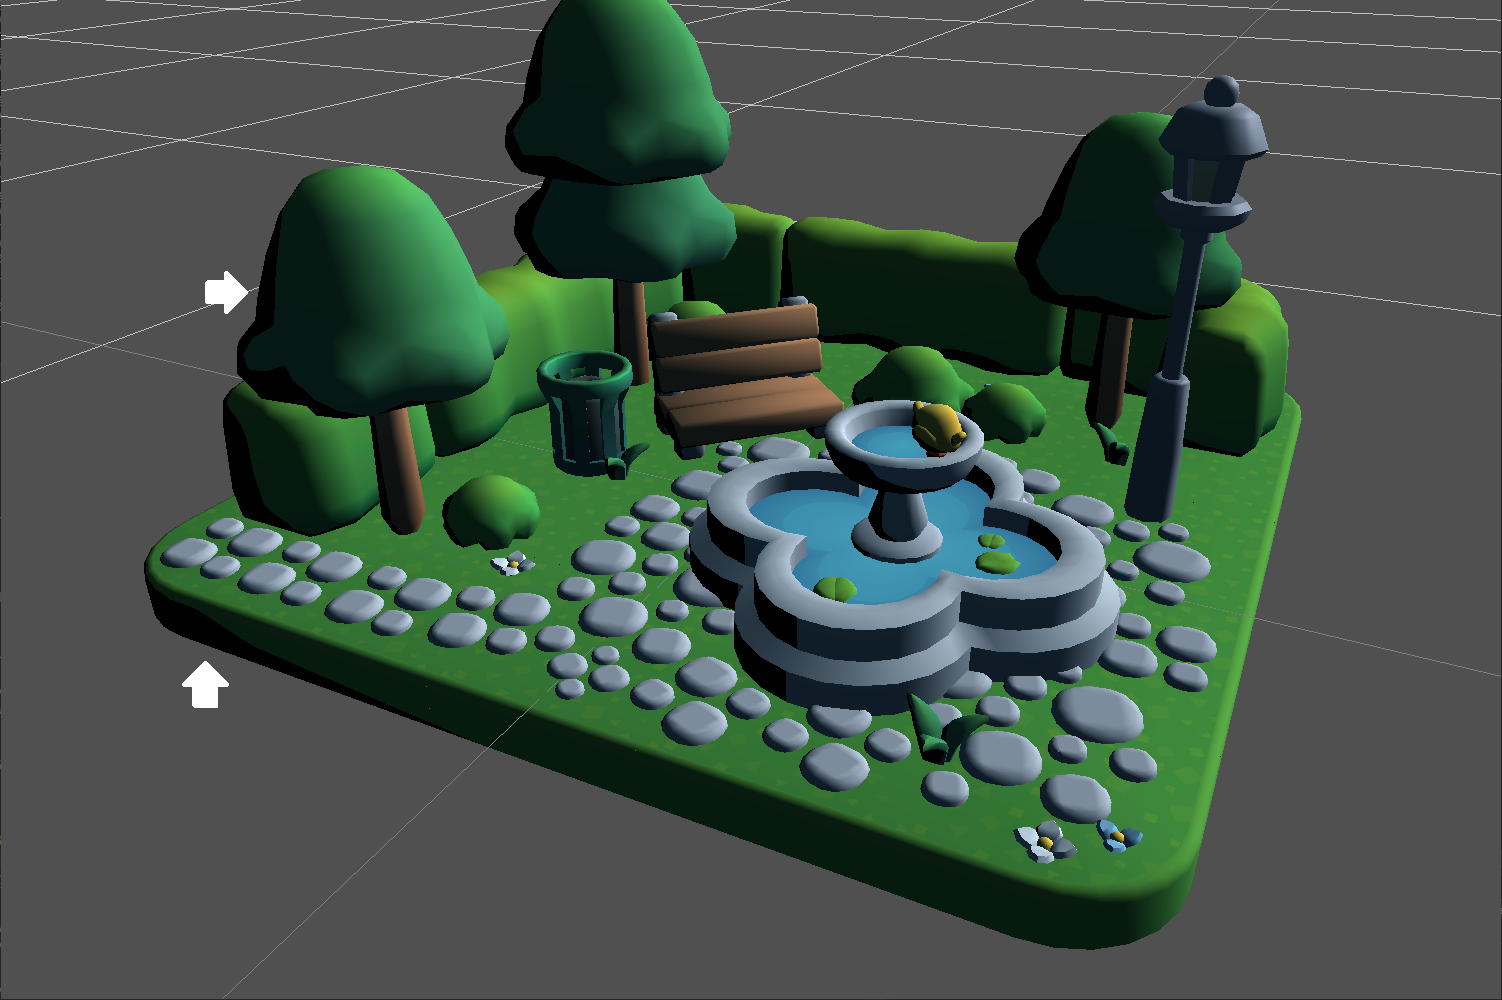
You may have noticed that my pictures look really, really dark.
If you payed real close attention to my code in previous posts, you may have even spotted that I am not adding in an ambient color at any point.
I knew right away that was the first thing missing, because I had been deliberately avoiding it.
You see, lights, as in, the actual focal points, are not the only sources of light affecting objects.
Light reflects everywhere.
When we talked about diffuse light, I mentioned that when light reflects off a surface, it does not do so fully. Each time light touches an object, it is partly absorbed as heat and the rest is bounced off as a different colour – the diffuse light. How much of it is reflected depends on the object’s material.
Light will keep bouncing off surfaces until it is fully turned into heat by one.
This means that an object close to the ground will be slightly lit by the light the ground reflects and affected by its remaining colour.
But I know what lays down this route: ray tracing, ambient occlusion, global illumination.
Those are topics I am not ready to tackle yet. I had to simplify.
I already had ambient occlusion baked into the textures thanks to Tiny Treats’ clever tricks.
So why am I talking about reflections?
We live under a giant dome of gasses called the sky, and turns out the sky reflects a lot of light. That reflection, contributed by the sky, is what we call ambient lighting. It is what makes landscapes turn orange at dawn, bright blue at mid day, and slightly purplish just as the sun is about to set.
And I was missing it.
But I knew what I had to do:
void main()
{
    ...

    vec3 environment = ambientColor.rgb * ambientValue;
    vec3 surface = environment + diffuse + specular;

    finalColor = vec4(albedo * surface, diffuseColor.a);
}
This surfaced a nasty bug I was not aware of:
The shading was supposed to range from 0 (fully shadowed) to 1 (fully lit).
Since I am adding that range to a colour, it made no sense that I would be seeing pitch-black.
{ value > 0; x = 0 + value } → { x > 0 }Some variable’s value was getting way below 0 for this to happen.
After carefully commenting out each part of the code, I discovered it was the specular causing troubles.
Specifically, this line:
float getSpecular(in vec3 N, in vec3 L, in vec3 viewDir)
{
    ...
    return pow(specular, metalnessValue * 100);
}
So I just made sure to clamp it:
float getSpecular(in vec3 N, in vec3 L, in vec3 viewDir)
{
    vec3 halfVector = normalize(L + viewDir);
    float specular = max(0, dot(halfVector, N));
    return max(0, pow(specular, metalnessValue * 100));
}
According to ChatGPT, it could be related to GPU-precision issues around very small numbers, which makes sense, I guess. Very small numbers overflowing the memory allocated for the type and turning the number negative. Could be. But I truly don’t know. If you do, please drop me a message! I would love to solve this mistery.
Et voilà!
More research⌗
But this wasn’t enough. No, I wanted it to really pop. I wanted it to look cute, and cartoony, but with lighting.
I remembered something I really wanted to try from Iñigo Quilez’s interview at Wookash Podcast I watched last month.
In his interview, Iñigo mentions working for Pixar and some of the tricks they used there. Specifically, he mentions that ambient occlusion is actually saturated, where we usually just add black to the albedo. They did some tooling for artists so they could make those shadows really pop. They also had independent controls for the direction of the casted shadows 🤯
I do not have the skills to make Pixar-level tooling, nor do I need to. But it was enough inspiration to keep exploring techniques!
Saturated shadows⌗
What I can do is saturate the albedo where the shadow gets darker.
// Globals
vec3 luminance = vec3(0.299, 0.587, 0.114);

//...

vec3 saturateColor(vec3 color, float factor)
{
    // factor > 1.0, saturates.
    // factor = 1.0, original color.
    // factor< 1.0, desaturates.
    vec3 grayscale = vec3(dot(color, luminance));
    return grayscale + (color - grayscale) * factor;
}
luminance is a vector that represents the factors by which our eyes are more sensitive to light. We do not perceive all colours equally; our eyes are more sensitive to green, then red, then blue. Using this vector, we can get a more realistic grayscale.
Let’s look at what happens when we add dark gray to a colour.
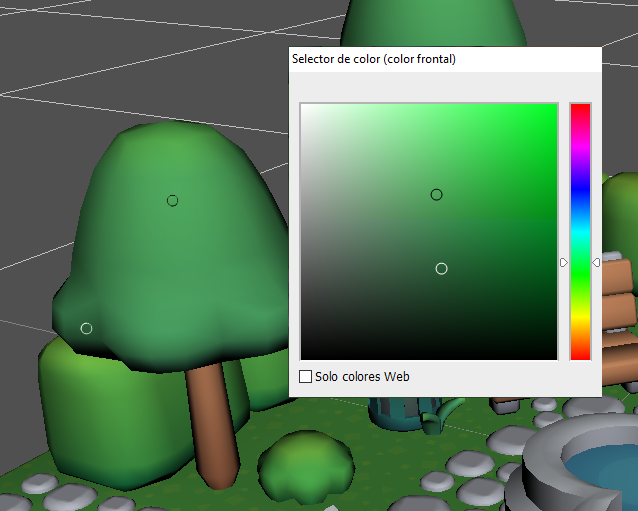
But I want a saturated version of the colour, I want it to move here:
If we think of colours as vectors, it becomes easy math:
- Find the origin of our colour. To do that, we
grayscaleit. - Find the direction in which we want to move. That’s
B - A, orcolor - grayscale. - Add to the origin our direction a number of times. That is
factor;
If I just move albedo arbitrarily with this function:
albedo = saturateColor(albedo, cos(time));
Now I want the factor to be affected by the shadow itself. The darker it gets, the more saturated I want the albedo to be.
I can accomplish this by creating a shadow mask – a black and white texture where white represents the parts I want to keep and black the ones I am not interested in.
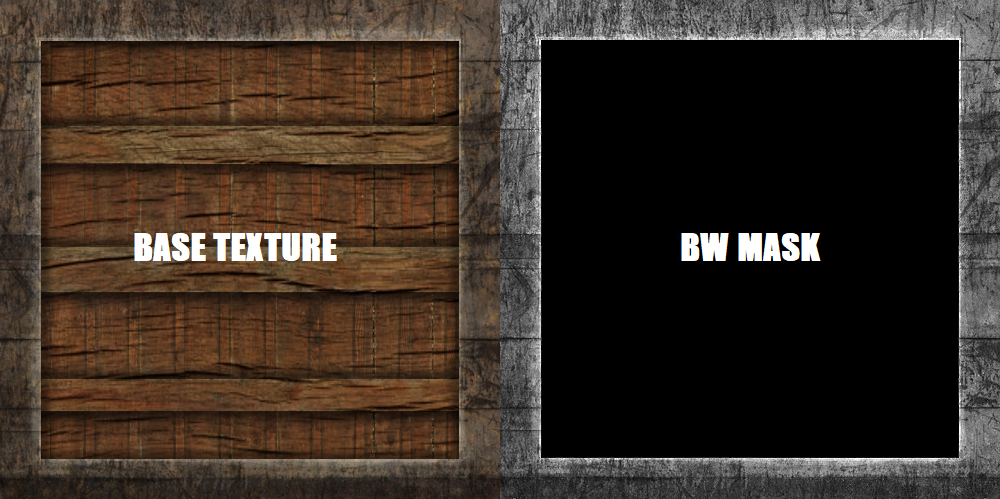
It sounds way more complicated than it actually is.
Essentially, since I am working per shader, black and white can be represented by a single float. I do not need an extra texture, since this is dependant on light – I already have it, it is the diffuse lighting itself. Specular only ever add light, so I can do without them.
My diffuse has colour in it, because I added it when I calculated the point lights and spotlights. But that is alright, I only need an approximation:
float shadowMask = 1.0 - clamp(length(diffuse), 0.0, 1.0);
albedo = saturateColor(albedo, 1.0 + shadowMask);
For dark values, length(diffuse) will be close to 0, so shadowMask = 1.0 - 0.0 will turn 1, full white. For fully lit zones, shadowMask = 1.0 - 1.0 will turn 0, full black.
Then, at saturation, I add a 1.0 to ensure it goes into saturation.
And this is the result:
It’s a small improvement, but the shadows are still dark enough that it is almost impossible to perceive the bumped up saturation.
At this point, I decided to deviate from Blinn-Phong and go into stylistic-choice territory by remapping the diffuse shading from [0, 1] to something else, so it would never drop down to 0.
After some trial-and-error, I realized I still want to use the full range for saturation.
// Saturate albedo using full diffuse strength
float shadowMask = 1.0 - clamp(length(diffuse), 0.0, 1.0);
albedo = saturateColor(albedo, 1.0 + shadowMask);

// Remaps diffuse to smaller range, letting those saturated colors pop
// while darkening them to keep shadows in place.
diffuse = mix(vec3(x), vec3(1), diffuse);
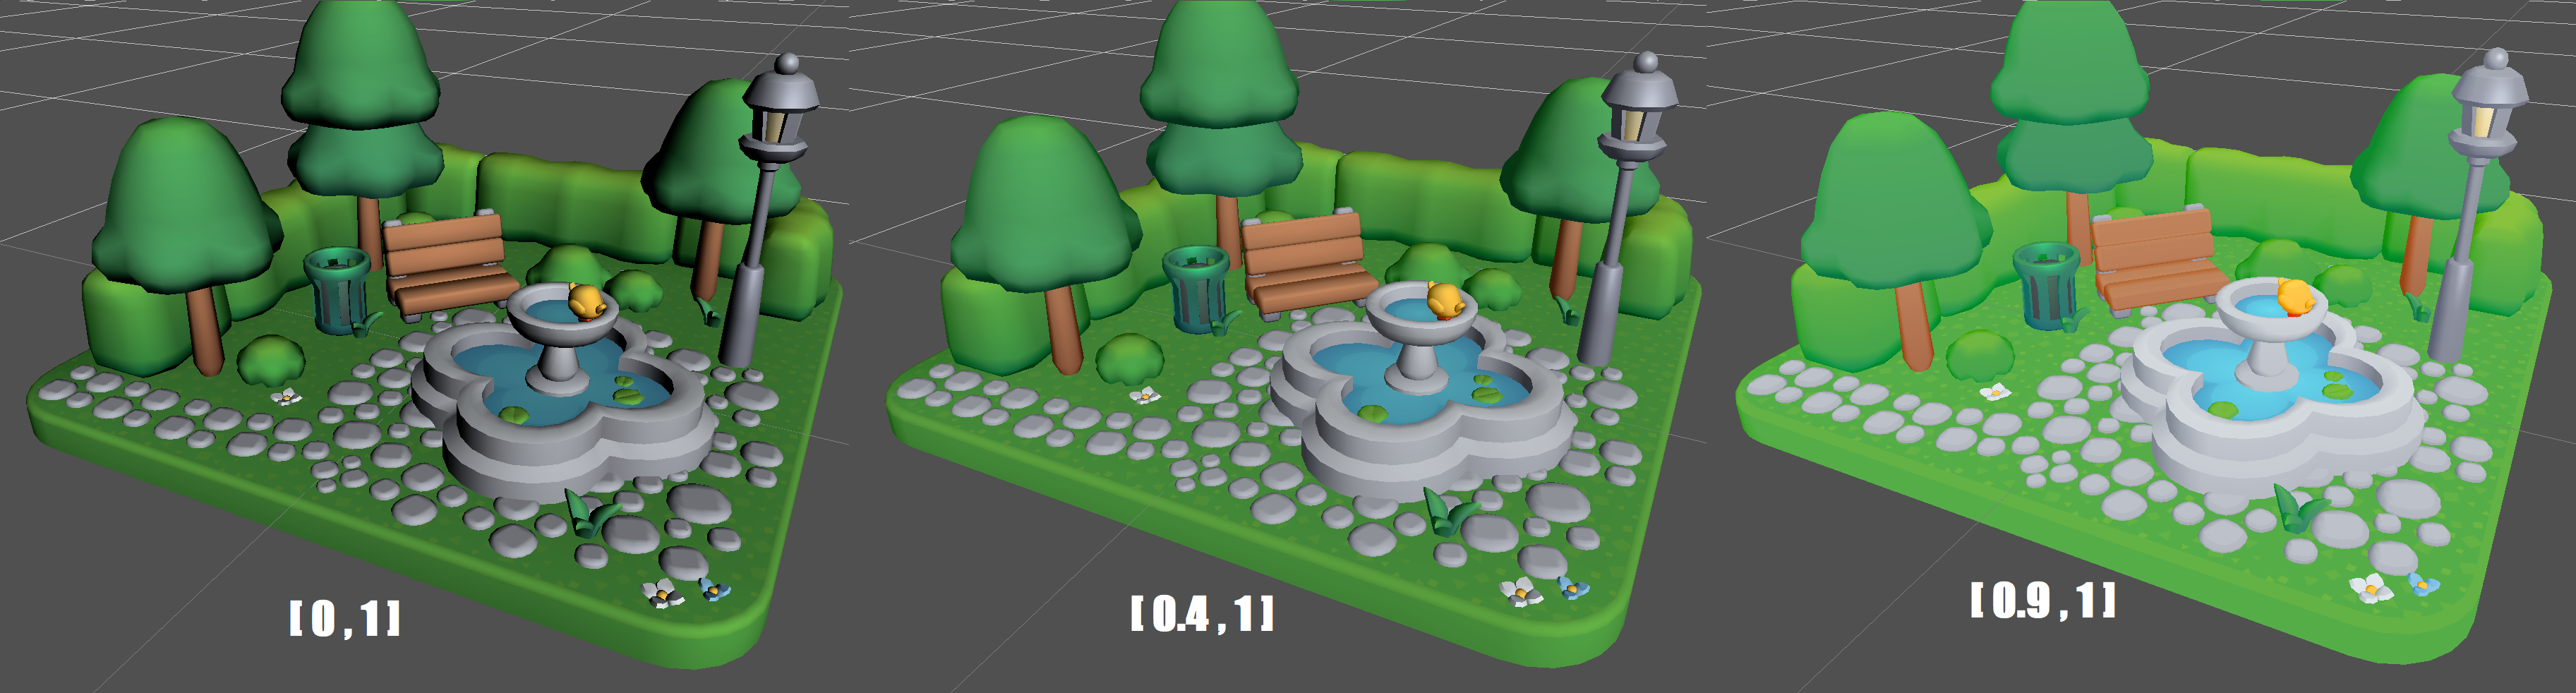
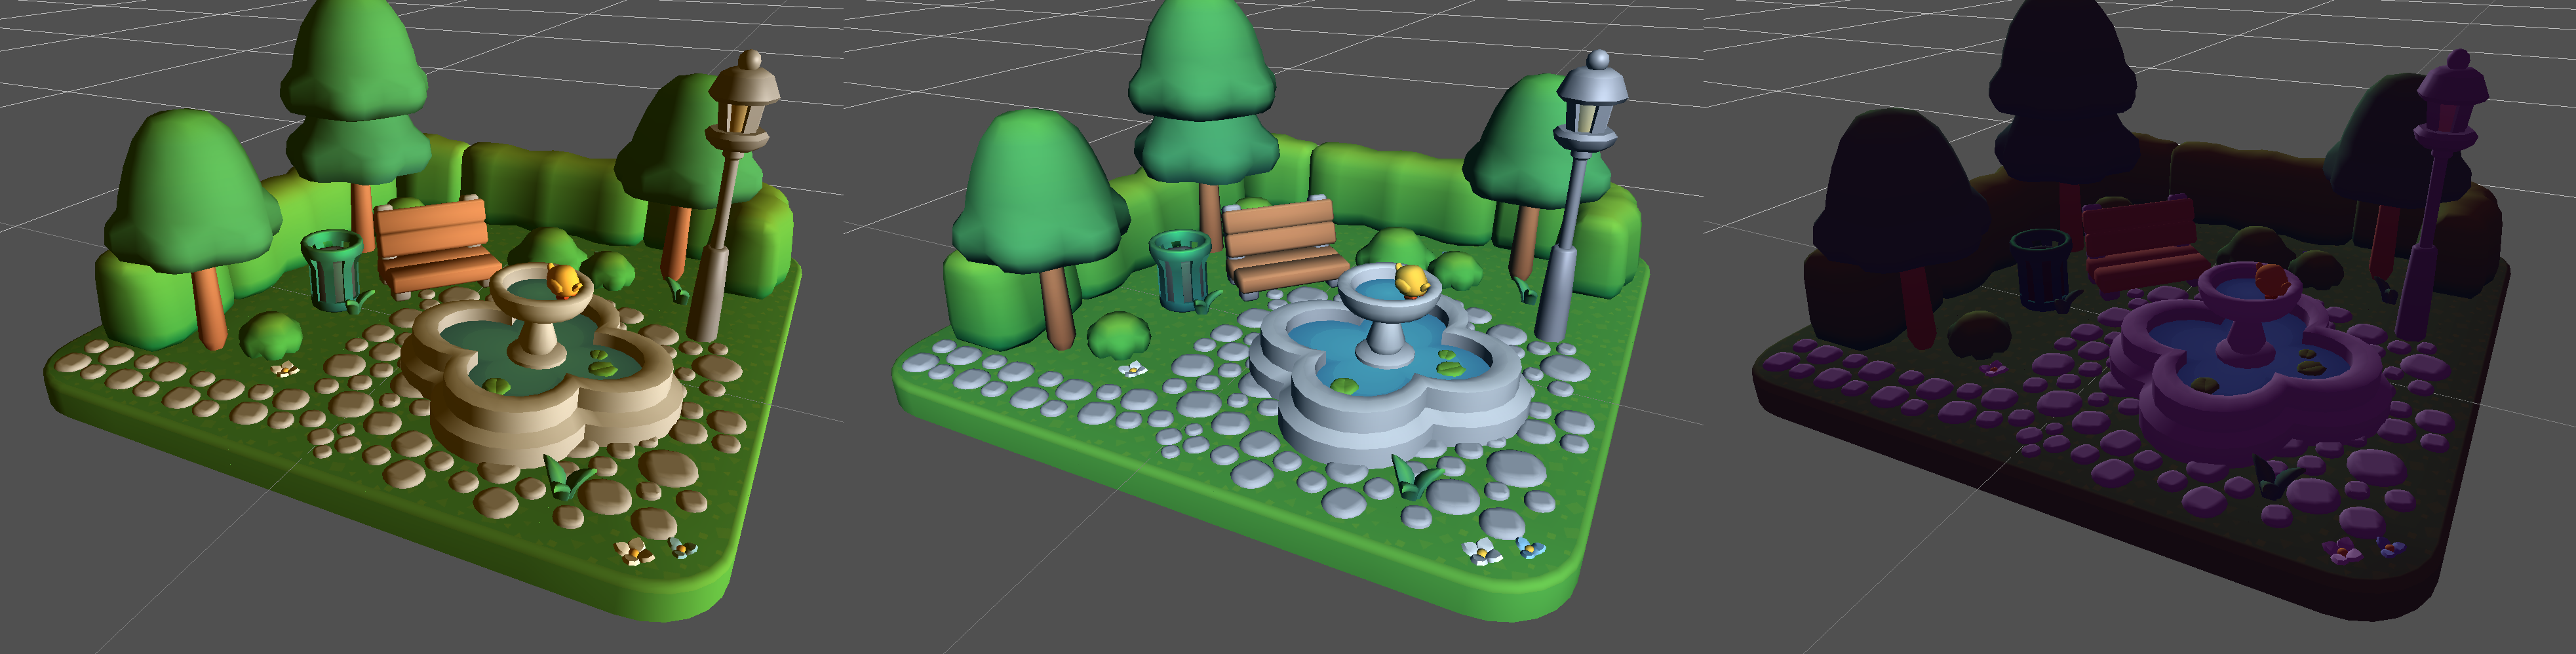
A range of [0.9, 1] looks very cartoony and I definitely identify games with that art style. I really liked it, but I was aiming for a less unlit look.
I decided to settle on 0.4 as it looked nicest to me.
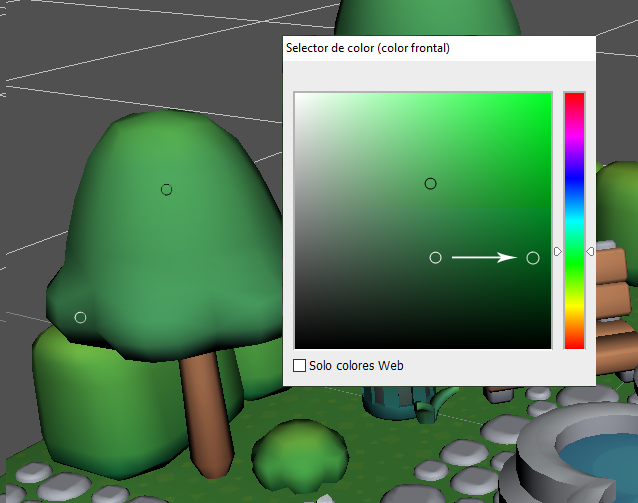
Change that hue⌗
I had saturated the shadows and that looked awesome, but I knew I could do more.
I decided that I wanted to move the hue of the shadows in the direction of the ambient light, just slightly, to make them feel richer and kinda more realistic. It had to be a very small tweak, because I would be adding the environment in later.
Turns out the math is pretty similar:
vec3 saturateColor(vec3 color, vec3 influence, float factor)
{
    // factor > 1.0, moves towards.
    // factor = 0.0, original color.
    // factor < 1.0, moves away.

    return color + (influence - color) * factor;
}
But I could also just do this:
albedo = mix(albedo, ambientColor.rgb, shadowMask * deviation);
And that is what I chose to do.
Finally:
    // Saturate albedo using full diffuse strength
    float shadowMask = 1.0 - clamp(length(diffuse), 0.0, 1.0);
    albedo = saturateColor(albedo, 1.0 + shadowMask);

    // Move albedo slightly in the direction of the ambient color
    float deviation = 0.3;
    albedo = mix(albedo, ambientColor.rgb, shadowMask * deviation);

    // Remaps diffuse to smaller range, letting those saturated colors pop
    // while darkening them to keep shadows in place.
    diffuse = mix(vec3(0.4), vec3(1), diffuse);
    specular *= texture(metalnessMap, uv).rgb * metalnessColor.rgb;

    vec3 surface = environment + diffuse + specular;

    finalColor = vec4(albedo * surface, diffuseColor.a);
I know the difference is subtle. Here is a gif that better showcases it:
What’s next?⌗
It has been super cool to finally take a commonly known technique somewhere else and explore on my own. I have an infinite list of shaders I want to try out as well.
I am still following LearnOpenGL’s tutorials and the next step is cubemaps, so that’s coming. Hopefuly I will make it all the way to PBR 🙌
On the side, I will almost certainly go into toon shaders soon as well, as that has been an obsession of my for almost a decade now.
I also want to write a couple more posts about the engine process and some post-processing effects that I could not possibly fit into this update, so stay tuned for those!
Bibliography⌗
I have linked many things throughout the post, so let me summarize the most relevant ones here:
If you made it this far...
Thank you! I hope you liked it!
I do not allow comments in my blog because I do not want to deal with scam bots. However, feel free to contact me! Did you like it? Did you not agree? Did I mess up? Drop me a message!
And if you would like to support my work, please, consider doing so through ko-fi: